- 快召唤伙伴们来围观吧
- 微博 QQ QQ空间 贴吧
- 文档嵌入链接
- 复制
- 微信扫一扫分享
- 已成功复制到剪贴板
Building a chassis with Tetrix
展开查看详情
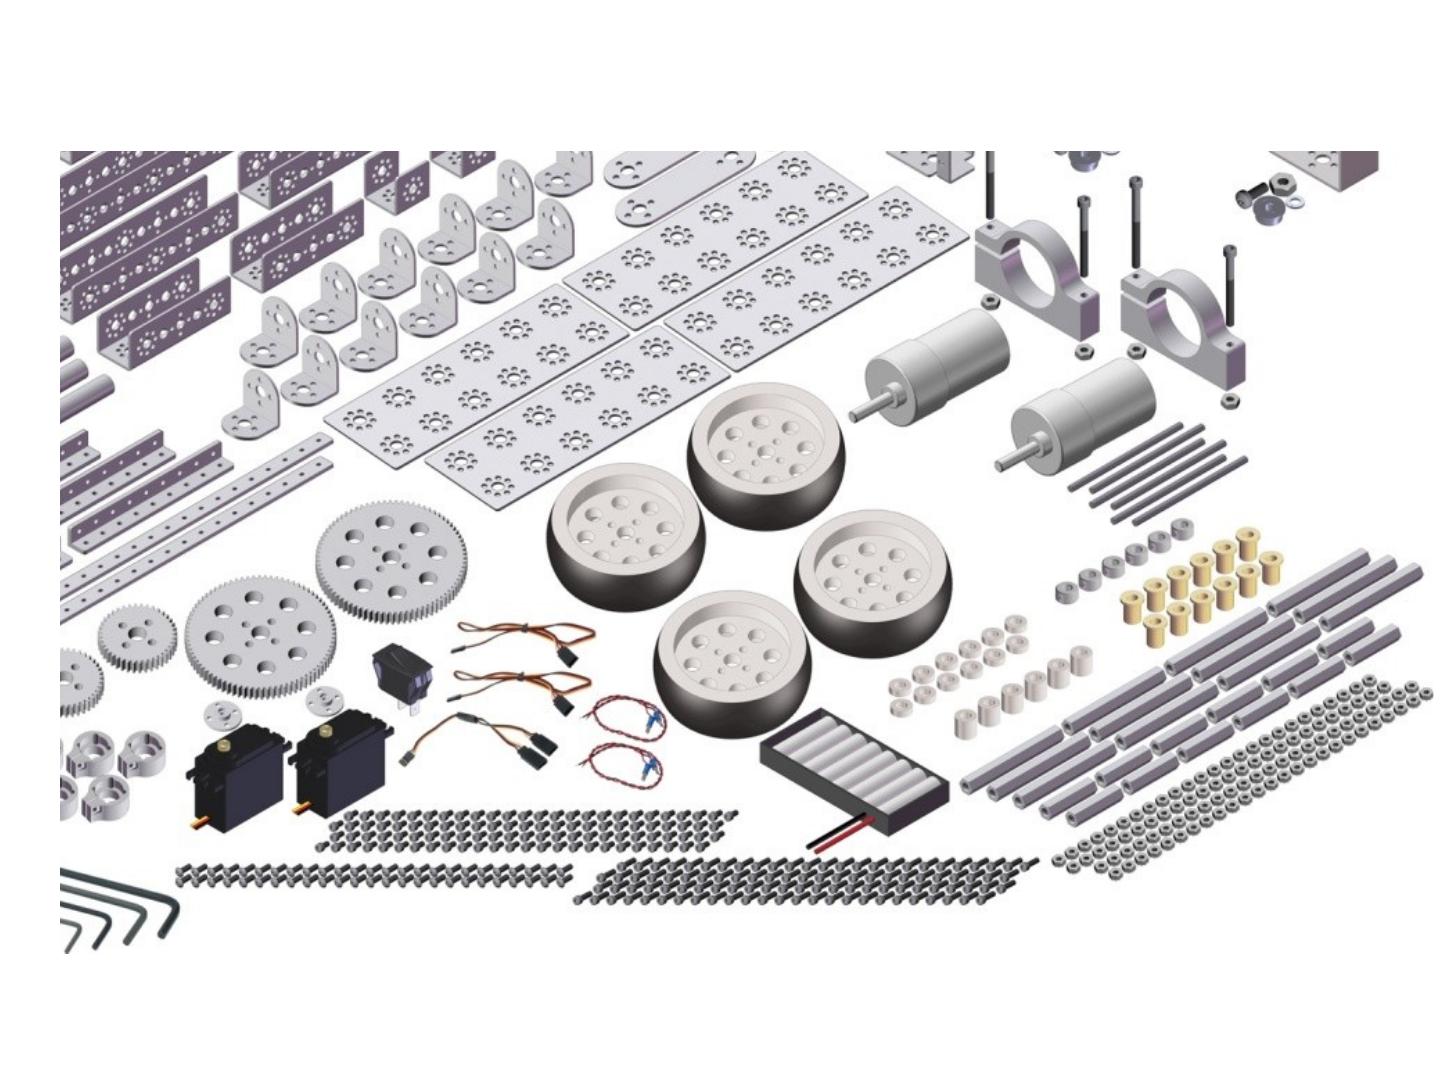
1 .What is TETRIX? If you can dream up a robot design, you can build it with the TETRIX Robotics Design System.
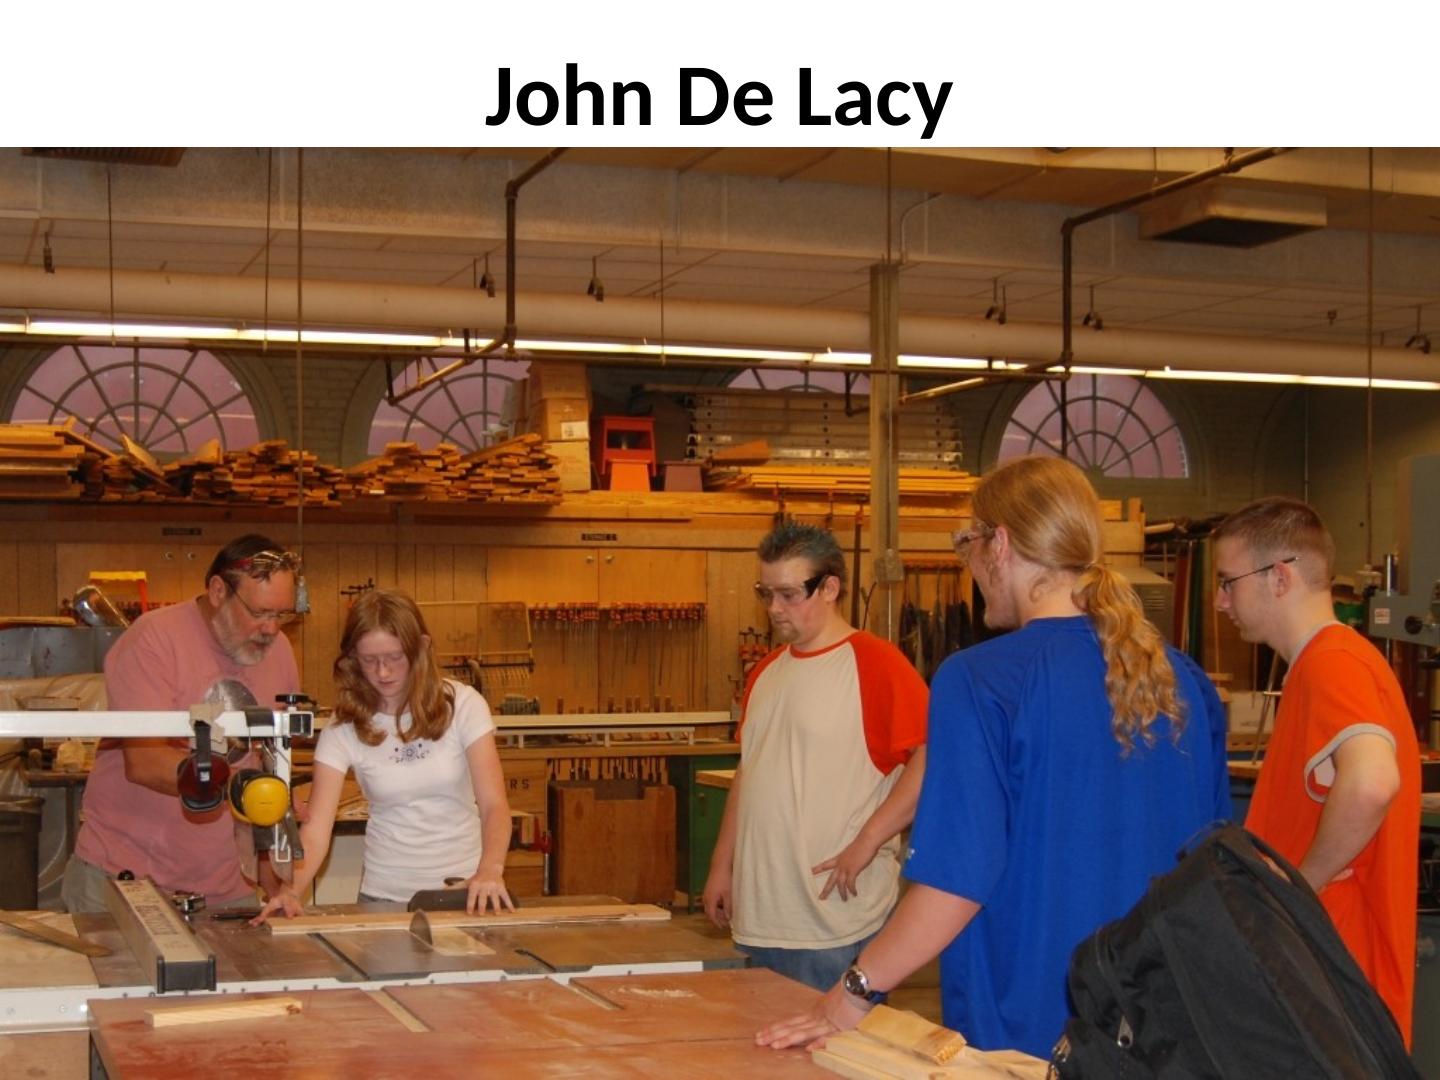
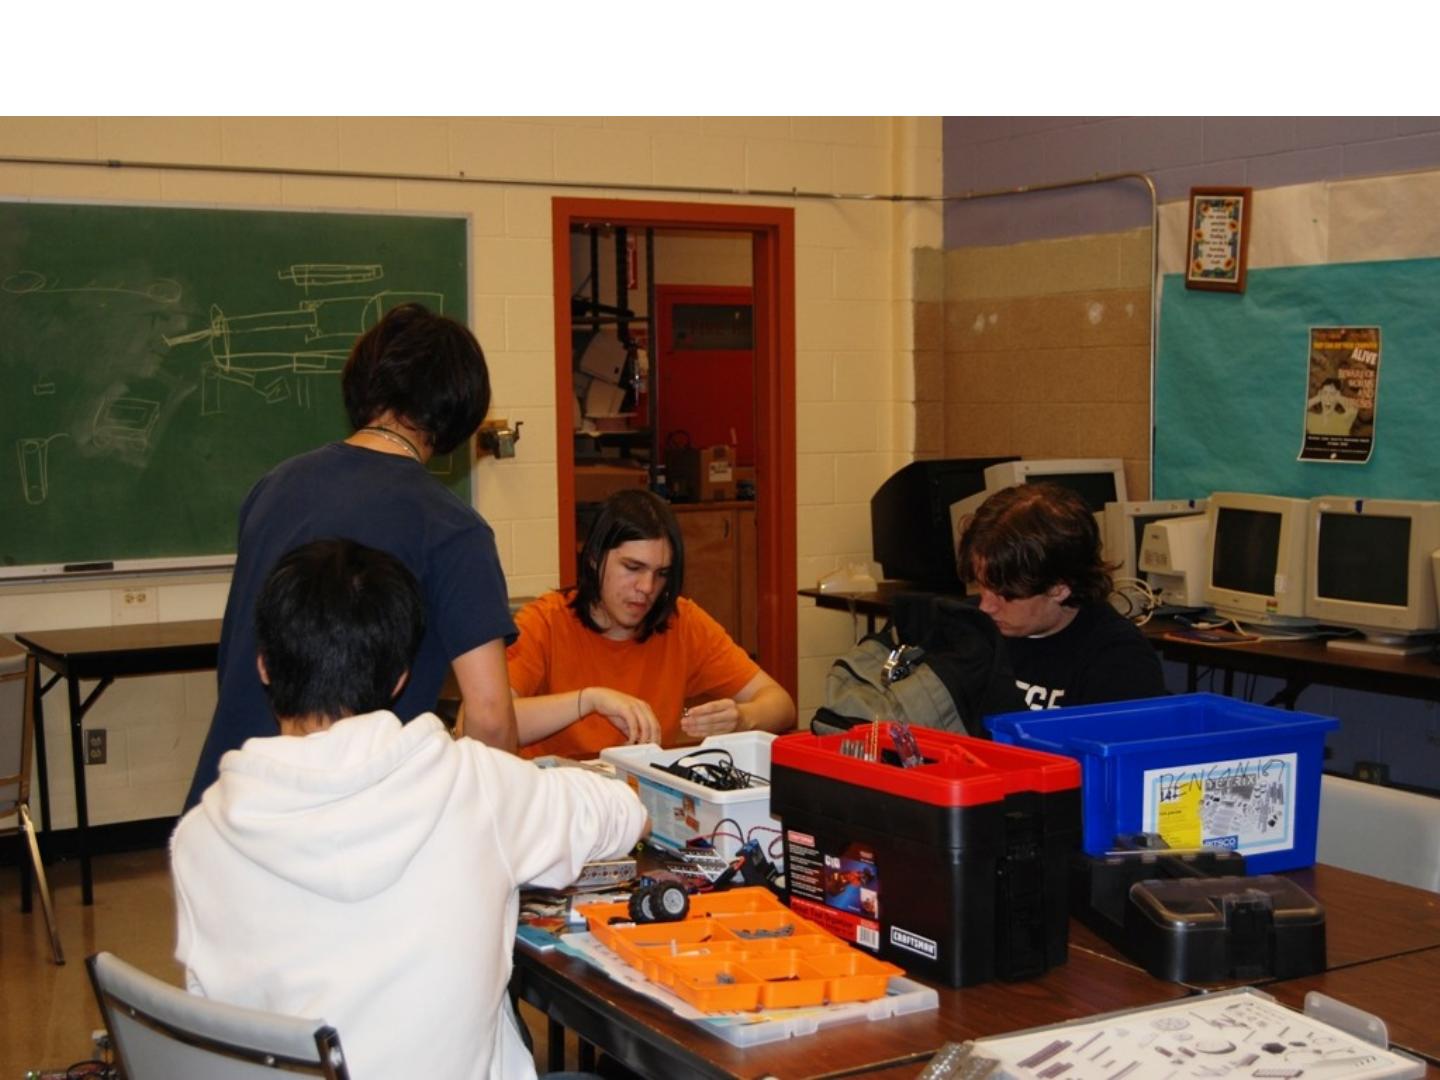
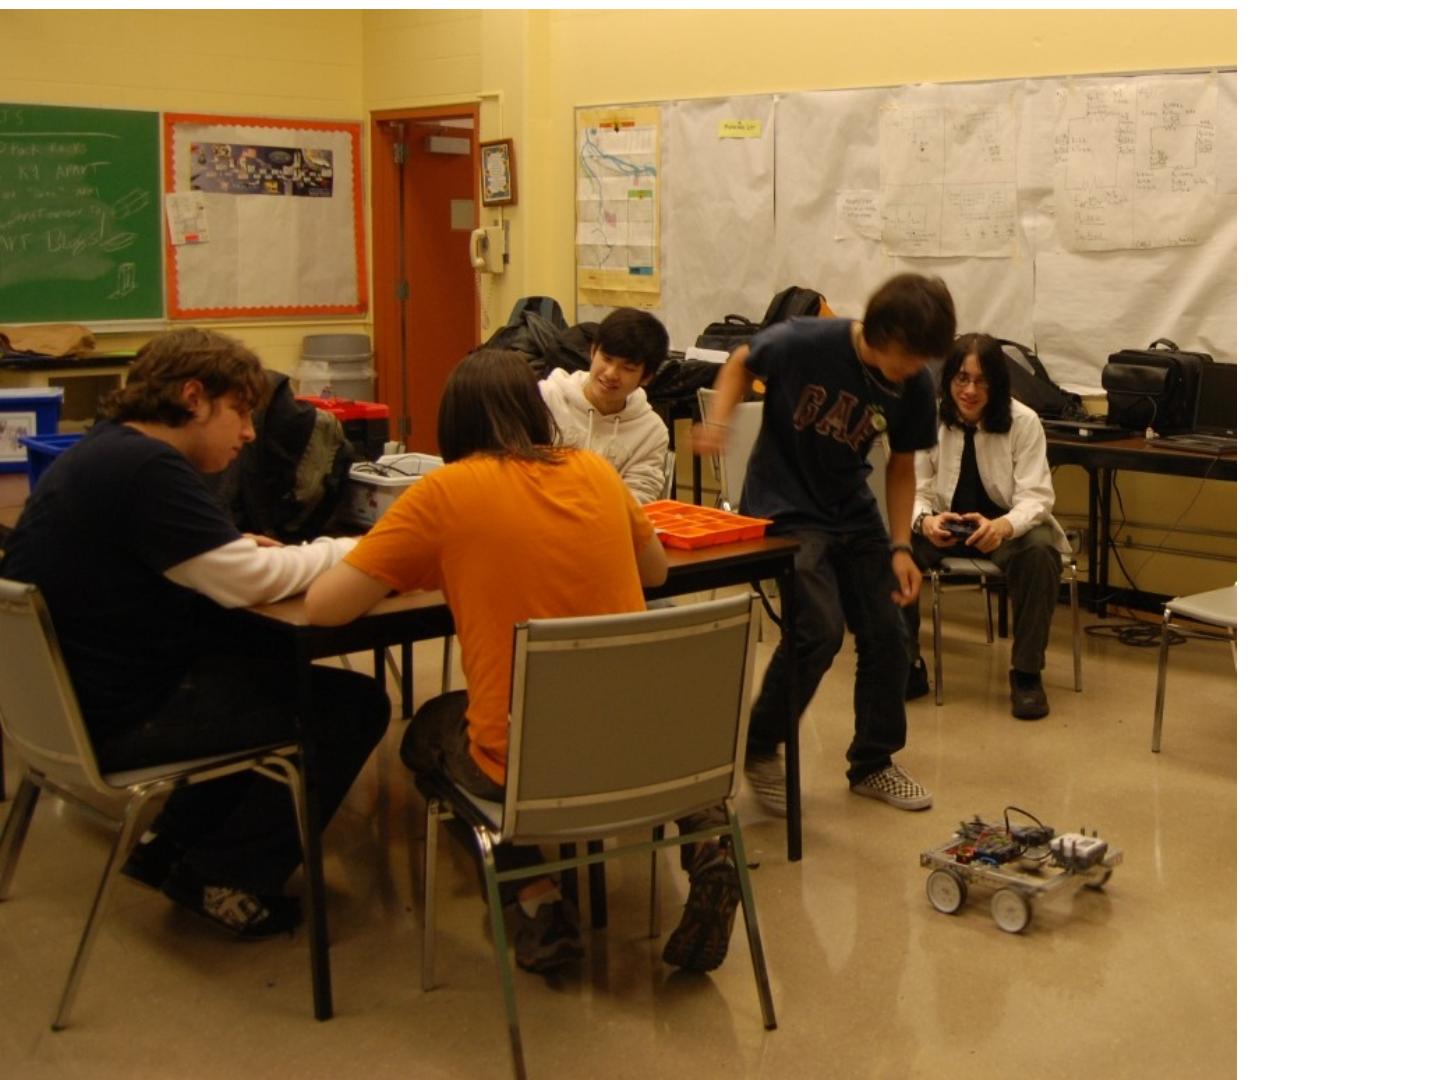
2 .My high school students can build Tetrix Robot
3 .John De Lacy
4 .
5 .
6 .
7 .
8 .What gives the TETRIX Robotic Design System an edge over the competition? Base Set 39108 - $399
9 .What gives the TETRIX Robotic Design System an edge over the competition? Base Set 39108 - $399
10 .What gives the TETRIX Robotic Design System an edge over the competition? Base Set 39108 - $399
11 .What gives the TETRIX Robotic Design System an edge over the competition? Base Set 39108 - $399
12 .What gives the TETRIX Robotic Design System an edge over the competition? Base Set 39108 - $399
13 .What gives the TETRIX Robotic Design System an edge over the competition? Base Set 39108 - $399
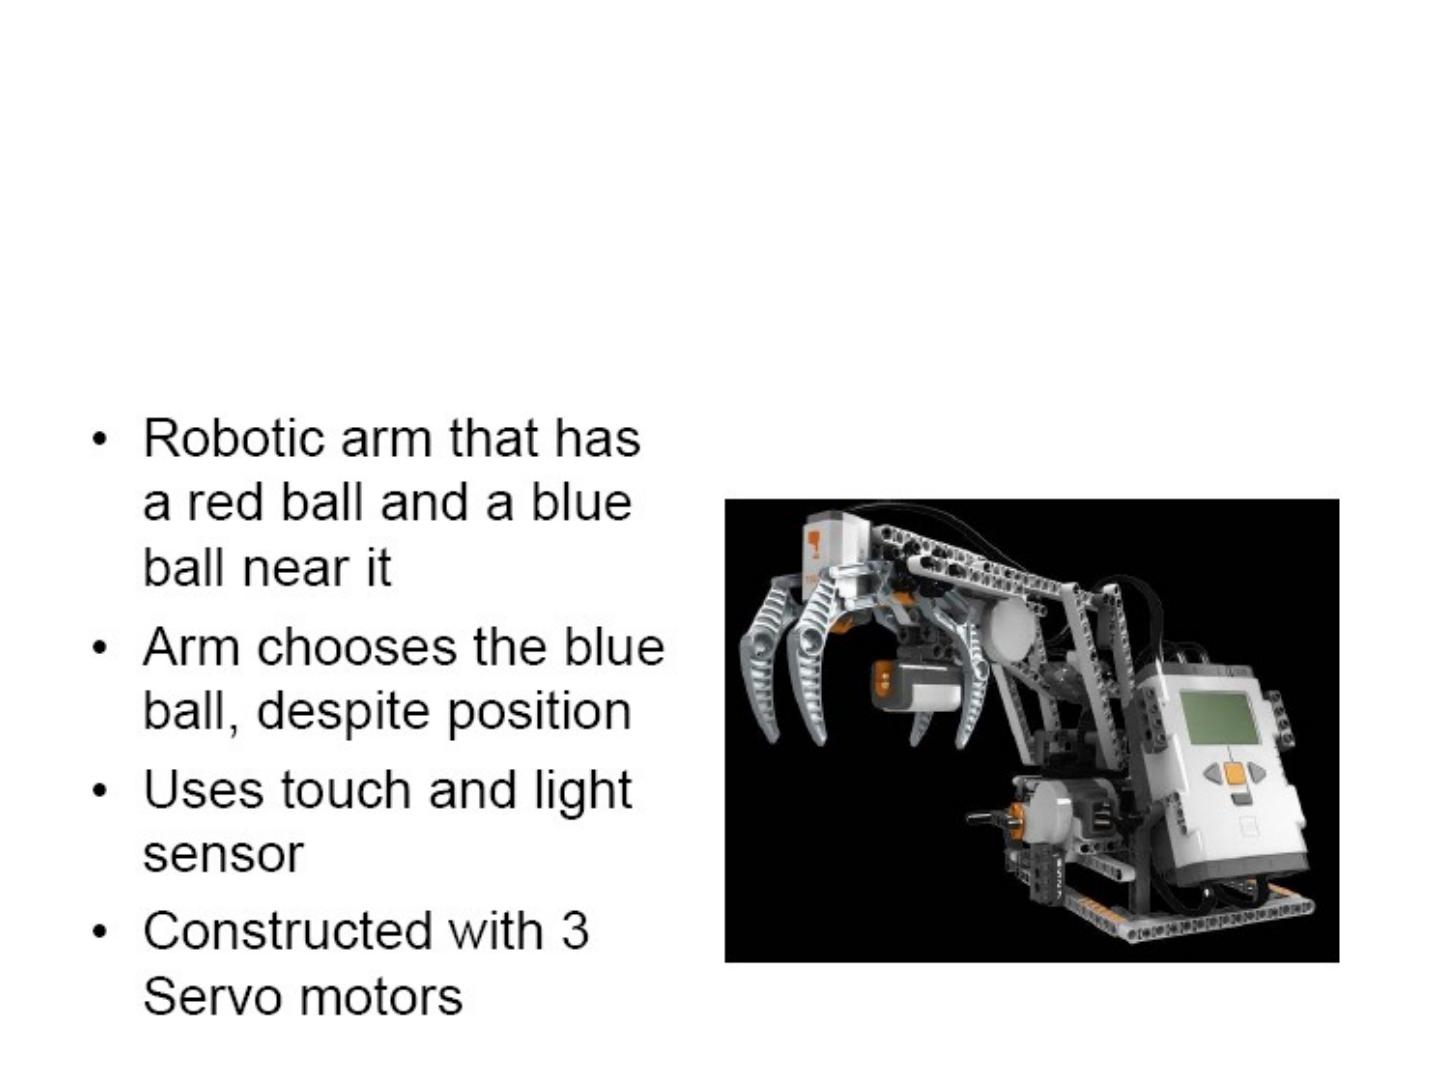
14 .Tetrix/Lego Mobile robot with arm
15 .Tetrix/Lego Mobile robot with arm
16 .Tetrix/Lego Mobile robot with arm
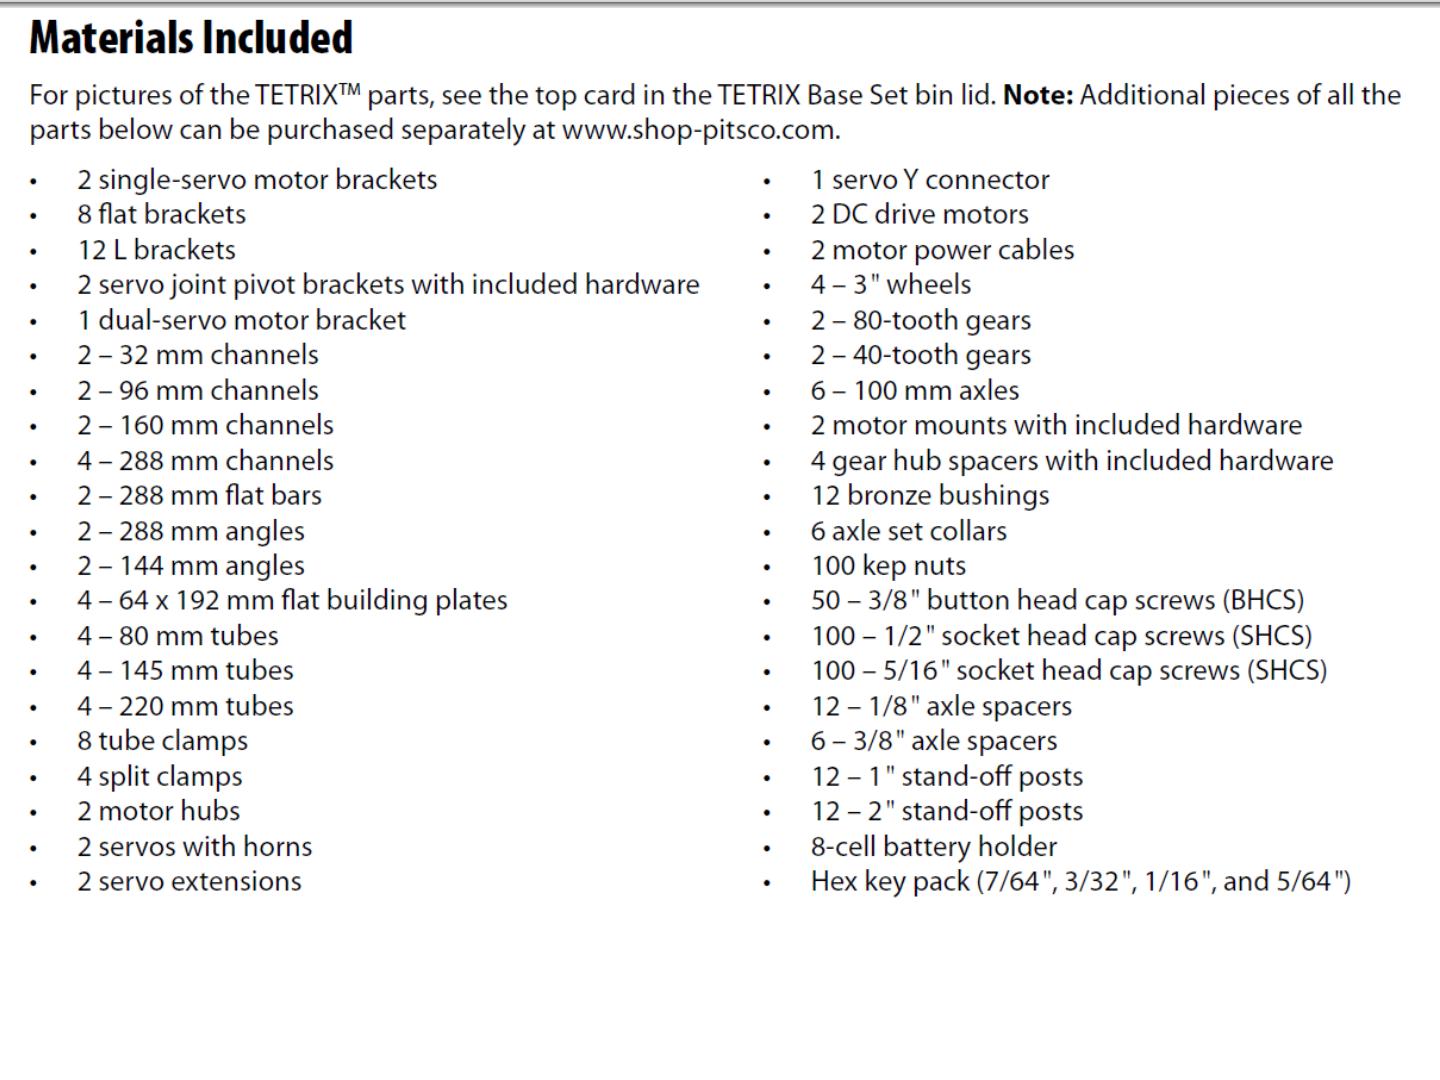
17 .Many ready instructions how to build Your resources are: Tetrix webpages Lego books and Webpages Lynxmotion pages Other robo -shops pages Many webpages of hobbyists We will go quickly through a lot of information “How to do this” You can read in more details.
18 .A – Building a Basic Chassis with Indirect Drive
19 .A – Building a Basic Chassis with Indirect Drive
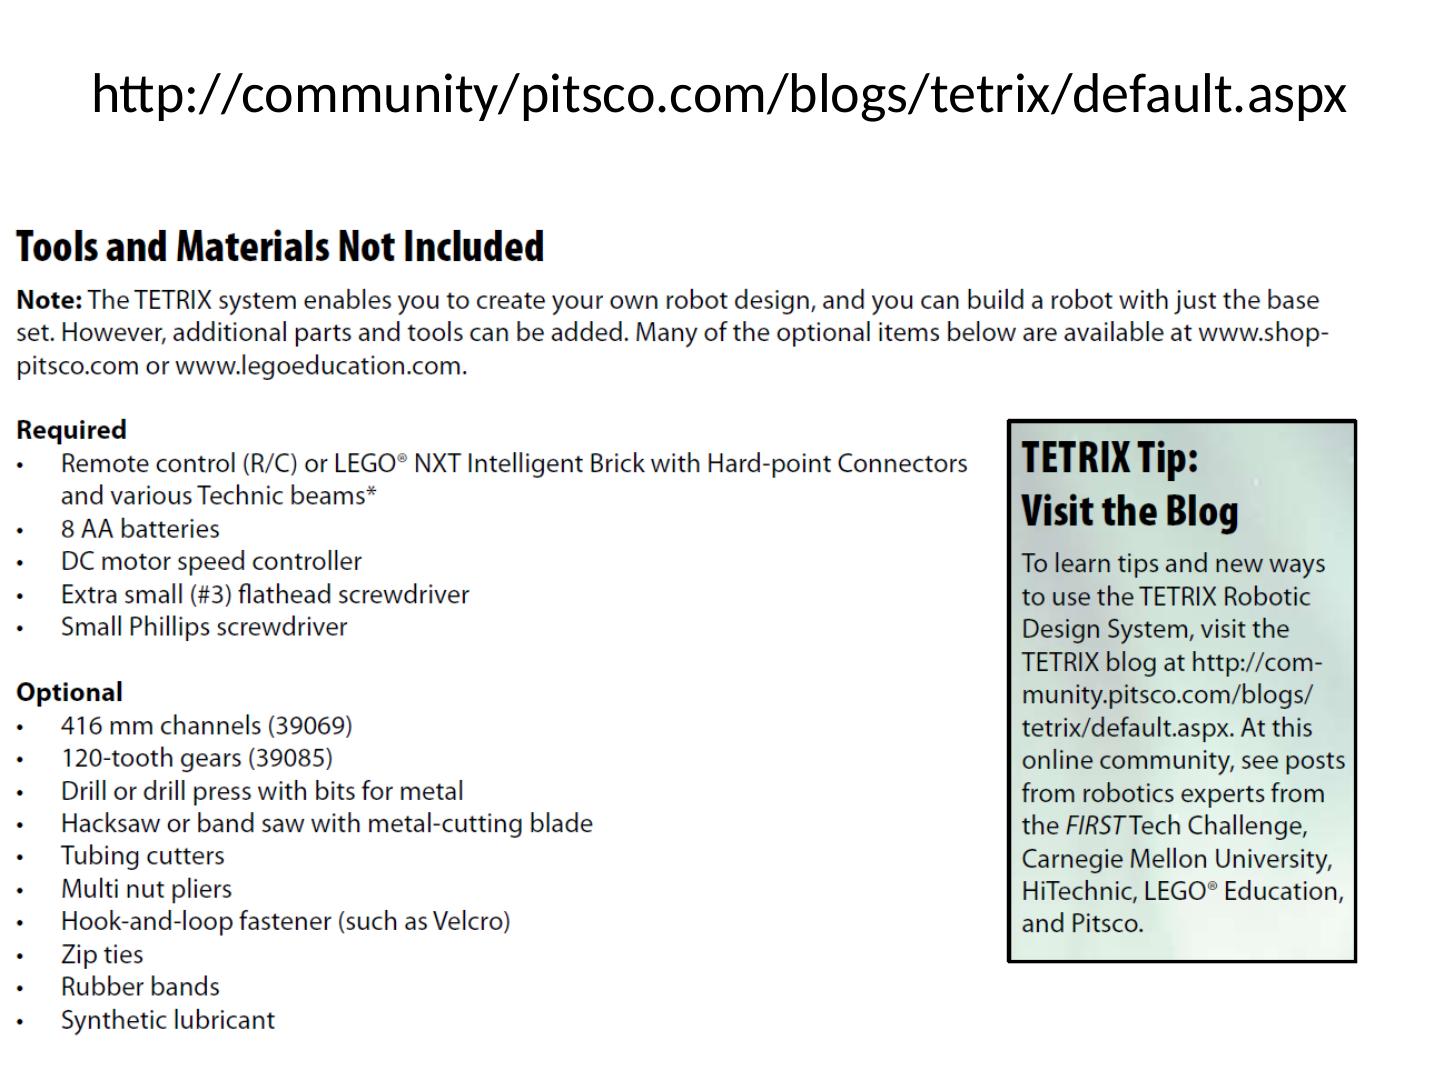
20 .http://community/pitsco.com/blogs/tetrix/default.aspx
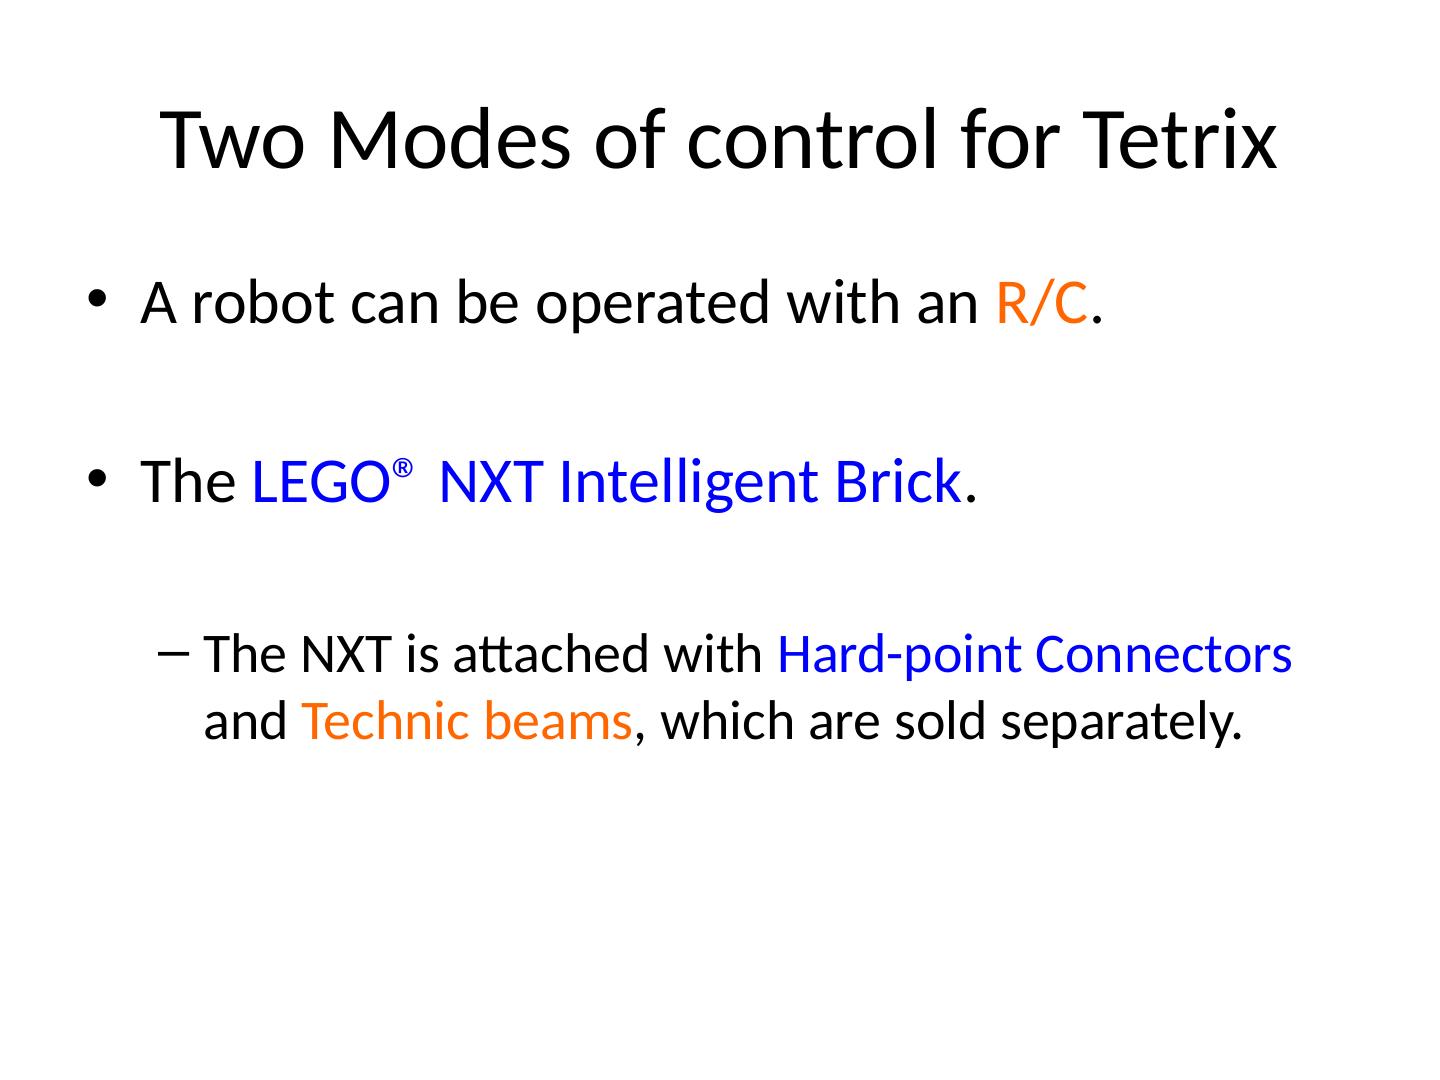
21 .Two Modes of control for Tetrix A robot can be operated with an R/C . The LEGO® NXT Intelligent Brick . The NXT is attached with Hard-point Connectors and Technic beams , which are sold separately.
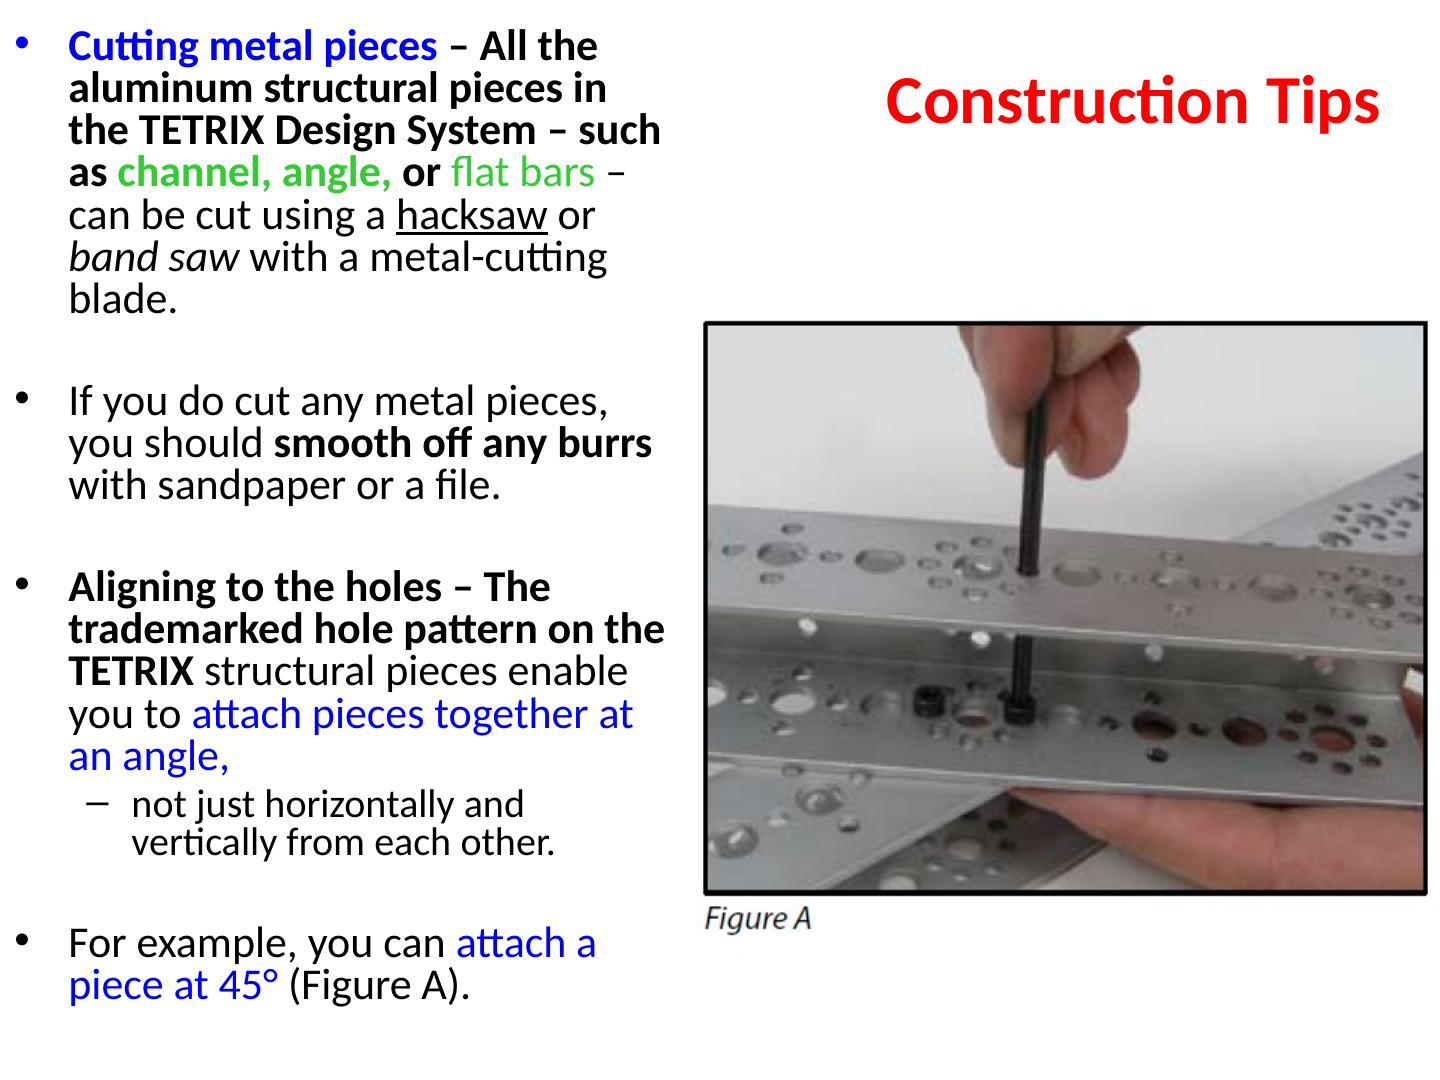
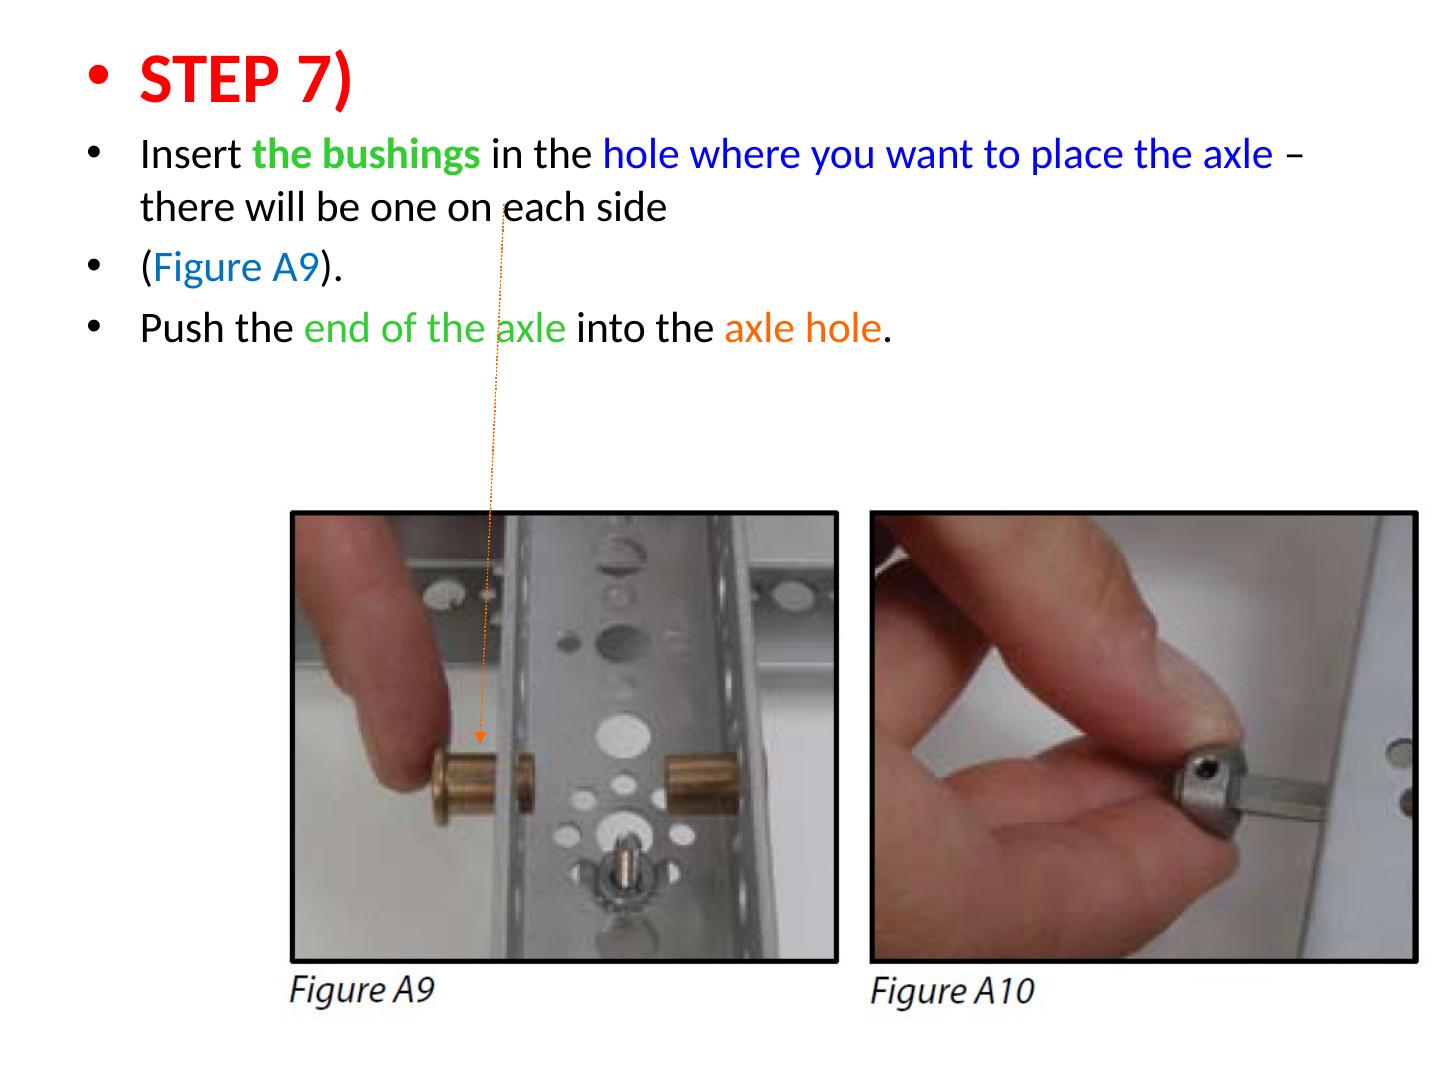
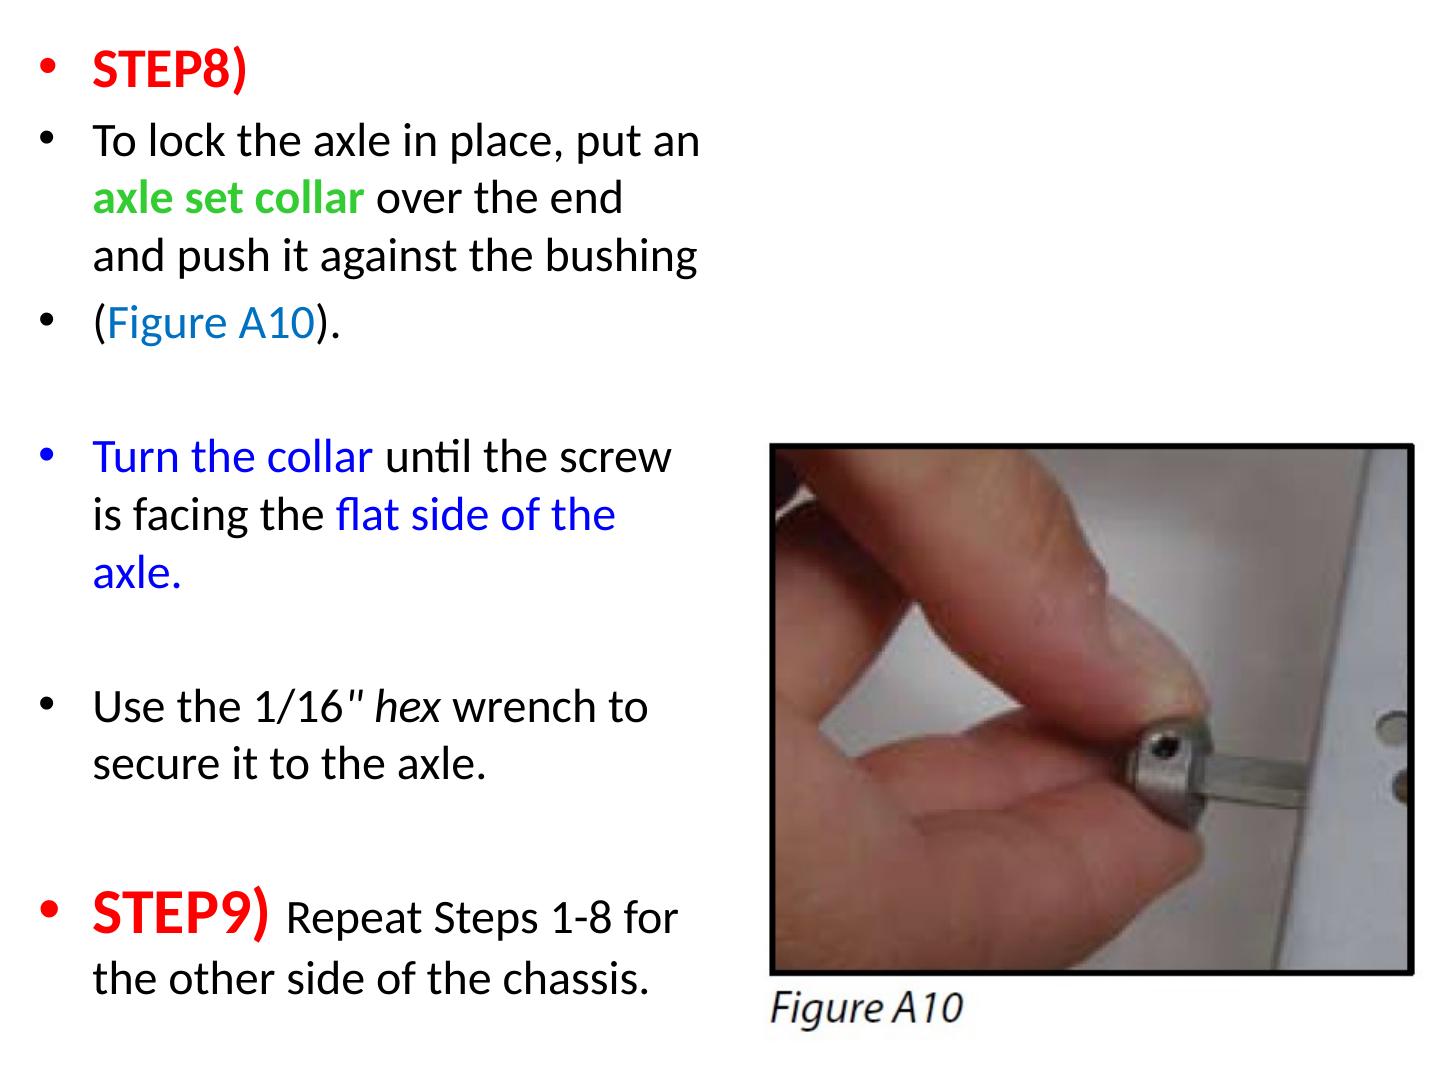
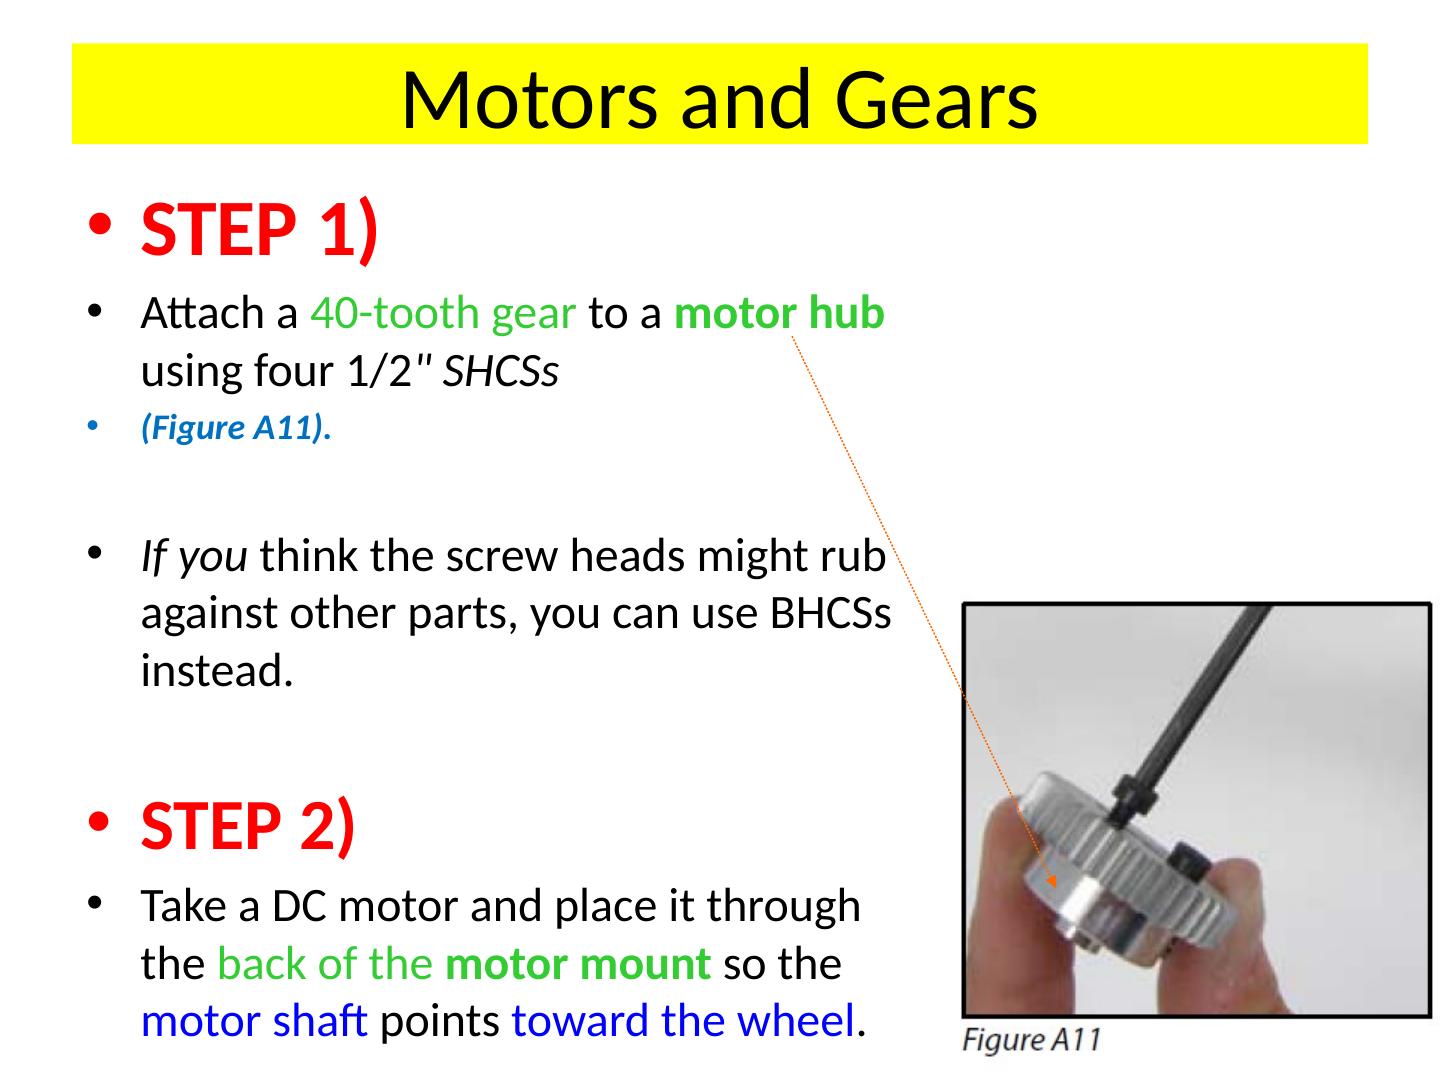
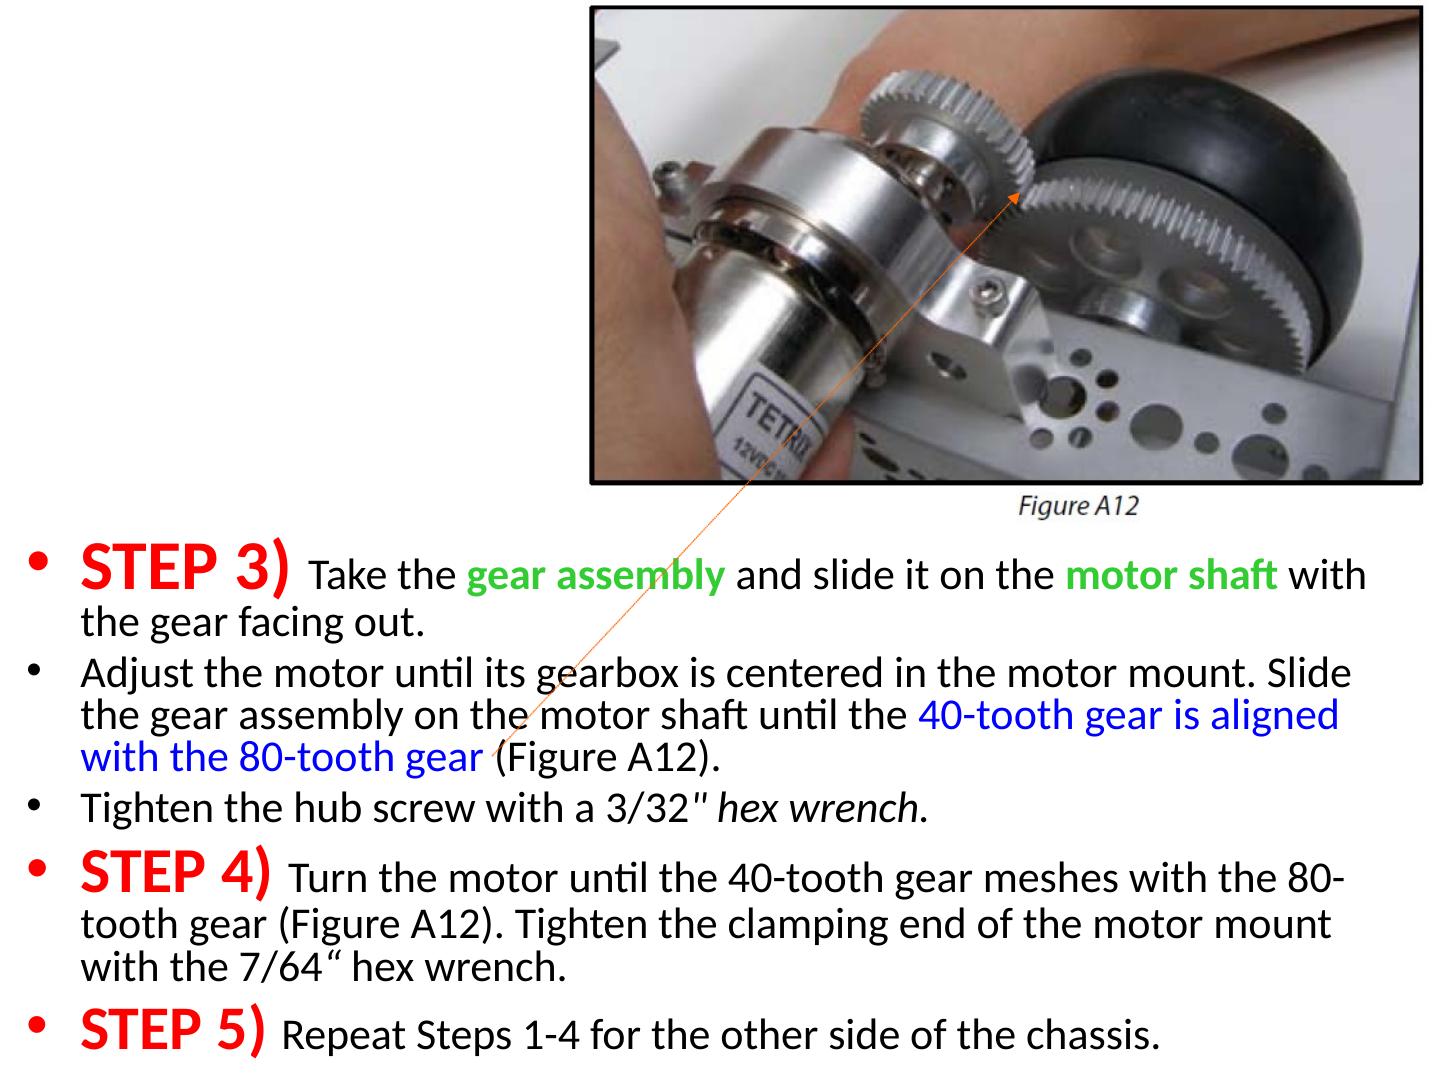
22 .Construction Tips Cutting metal pieces – All the aluminum structural pieces in the TETRIX Design System – such as channel, angle, or flat bars – can be cut using a hacksaw or band saw with a metal-cutting blade. If you do cut any metal pieces, you should smooth off any burrs with sandpaper or a file. Aligning to the holes – The trademarked hole pattern on the TETRIX structural pieces enable you to attach pieces together at an angle, not just horizontally and vertically from each other. For example, you can attach a piece at 45° (Figure A).
23 .Tightening screws The TETRIX hole pattern is on all sides of the structural pieces – making it easy to tighten the screws with the hex wrench by simply putting the wrench through the other side as shown in Figure A. The screws in the TETRIX system are fastened with kep nuts Kep Nuts feature a toothed side . This toothed side should face toward the screw. S o the teeth can grab onto the metal , which helps it hold better.
24 .Selecting screws: SHCS ½, SHCS 5/16 and BHCS There are two sizes of socket head cap screw (SHCS) in the base set: 1/2 " and 5/16". As a rule, use the 1/2 " screws for joining two structural elements together. Use the shorter 5/16" screws to: attach servos and tube clamps and when there isn’t much clearance on the inside of parts. The button head cap screws (BHCS) are useful when the SHCSs might stick out too far from the body and rub against a moving part, such as a gear.
25 .Tightening split clamps and tube clamps For maximum clamping grip, you need to tighten the clamp screws in stages. First, snug the set screw on the clamp – but not too tight . Then, attach the clamp to the structural element with four screws and tighten them partway. Finish tightening the set screw , and then finish tightening the four other screws. This will keep the clamp in the proper shape for attaching to structural elements while ensuring proper grip on axles and tubes.
26 .A – Building a Basic Chassis with Indirect Drive The chassis constructed in this section is a basic rectangular chassis with four wheels and two drive motors . This provides basic construction information. You can do modifications: use different channel pieces , have three wheels instead of four, or otherwise change this chassis to fit your design.
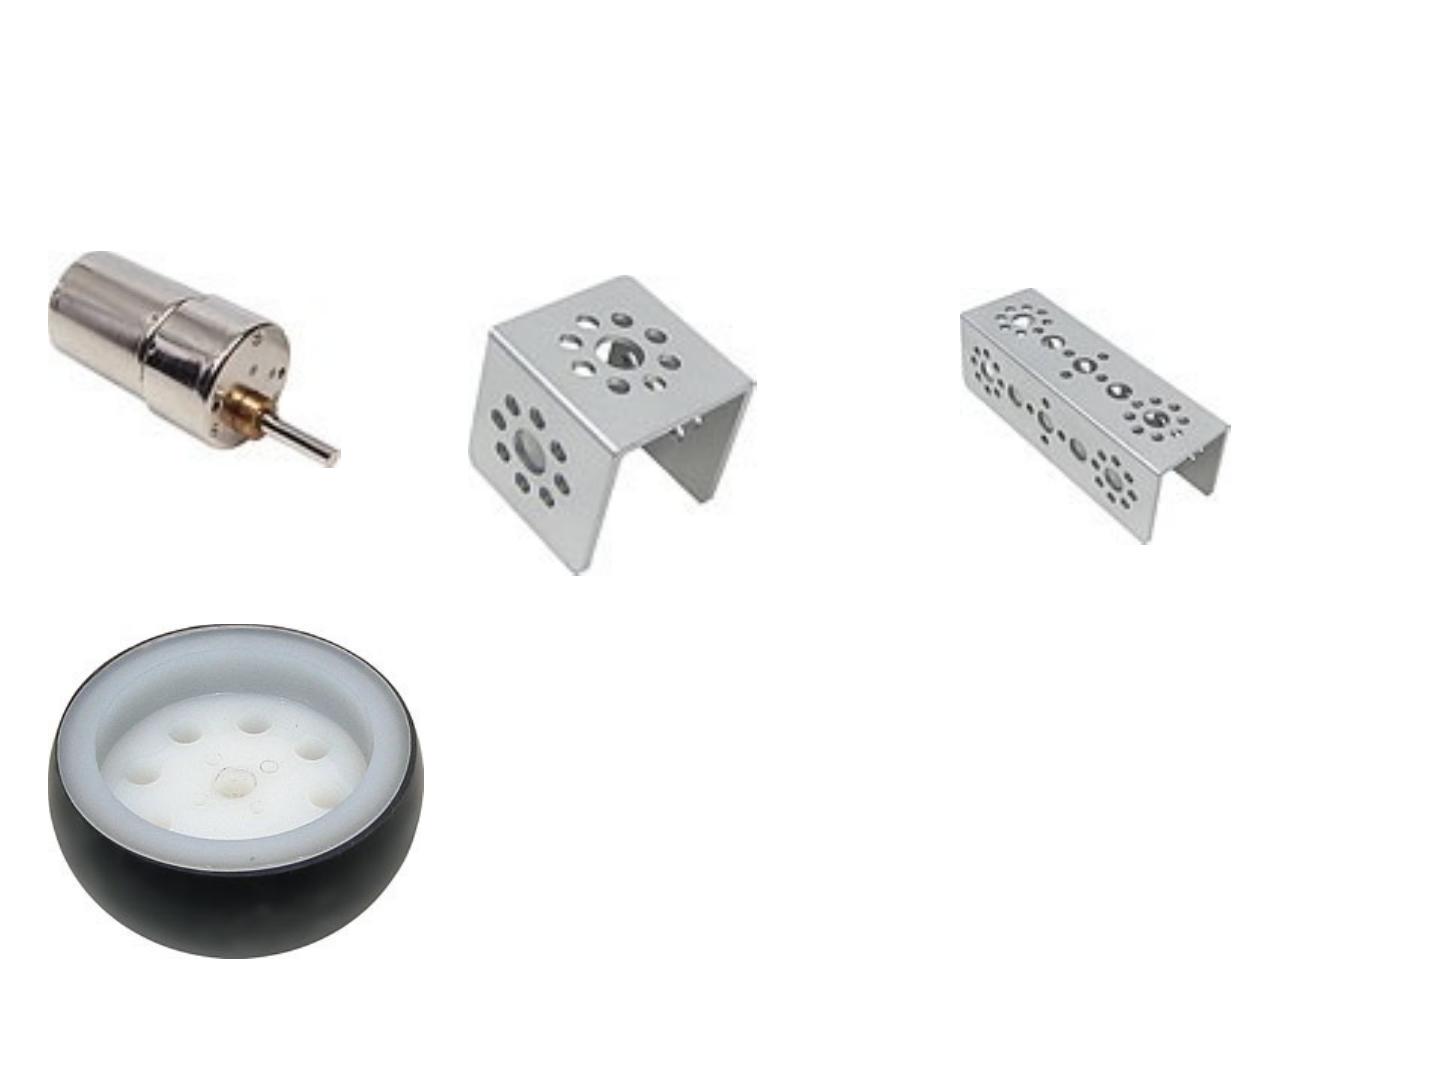
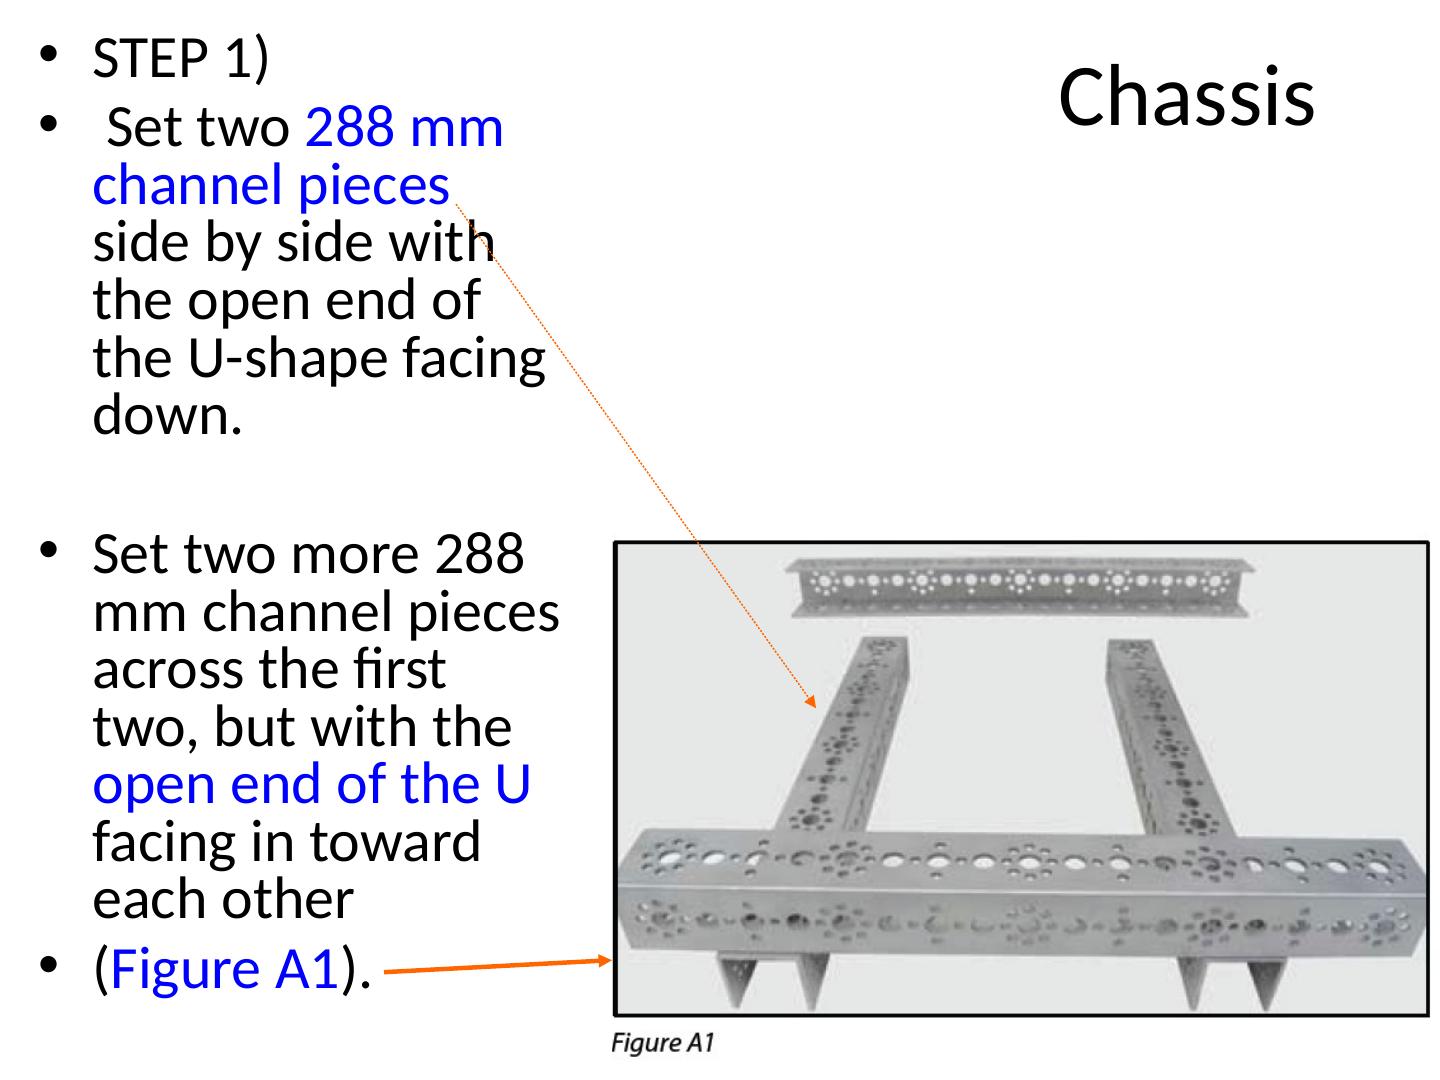
27 .Chassis STEP 1) Set two 288 mm channel pieces side by side with the open end of the U-shape facing down. Set two more 288 mm channel pieces across the first two, but with the open end of the U facing in toward each other ( Figure A1 ).
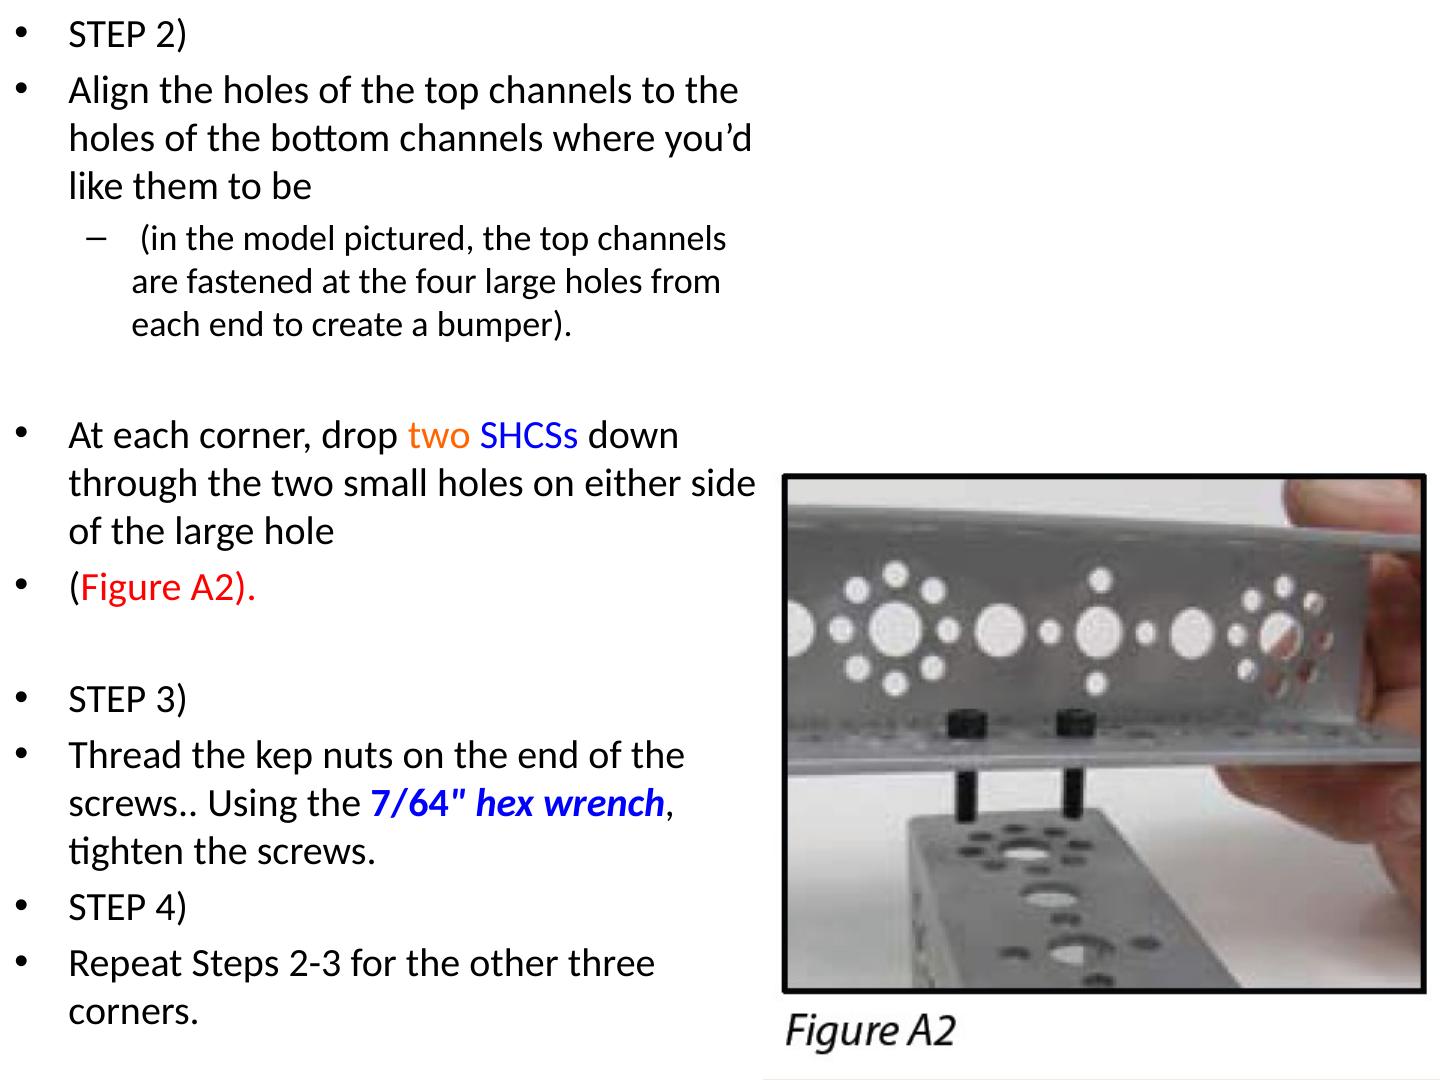
28 .STEP 2) Align the holes of the top channels to the holes of the bottom channels where you’d like them to be (in the model pictured, the top channels are fastened at the four large holes from each end to create a bumper). At each corner, drop two SHCSs down through the two small holes on either side of the large hole ( Figure A2). STEP 3) Thread the kep nuts on the end of the screws.. Using the 7/64 " hex wrench , tighten the screws. STEP 4) Repeat Steps 2-3 for the other three corners.
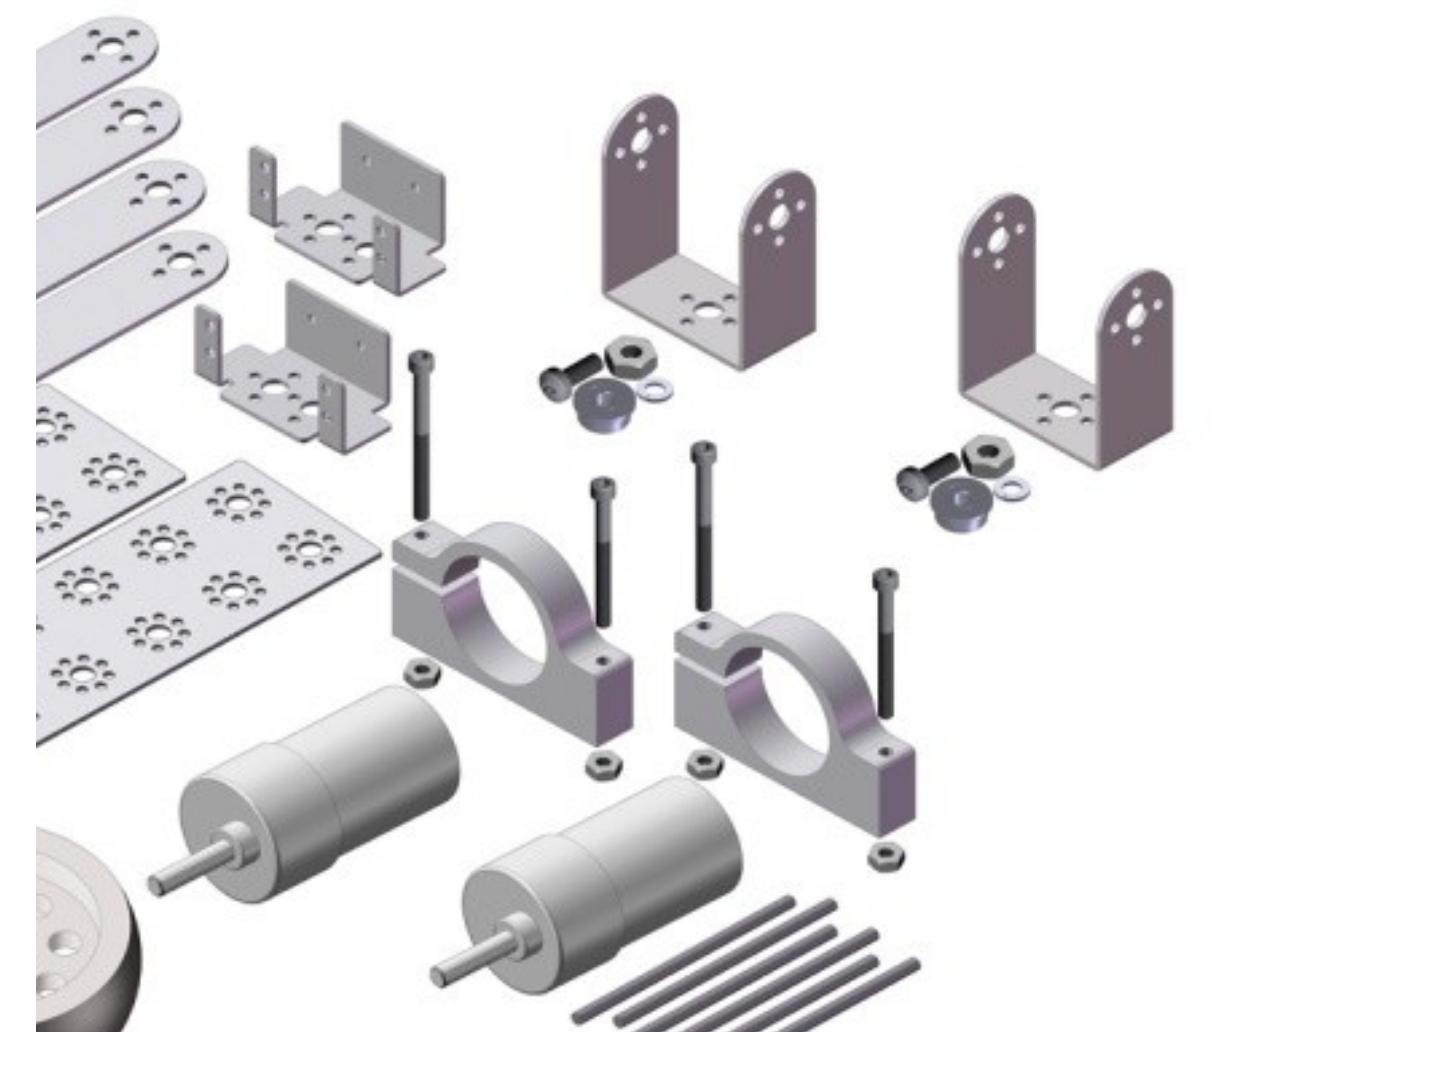
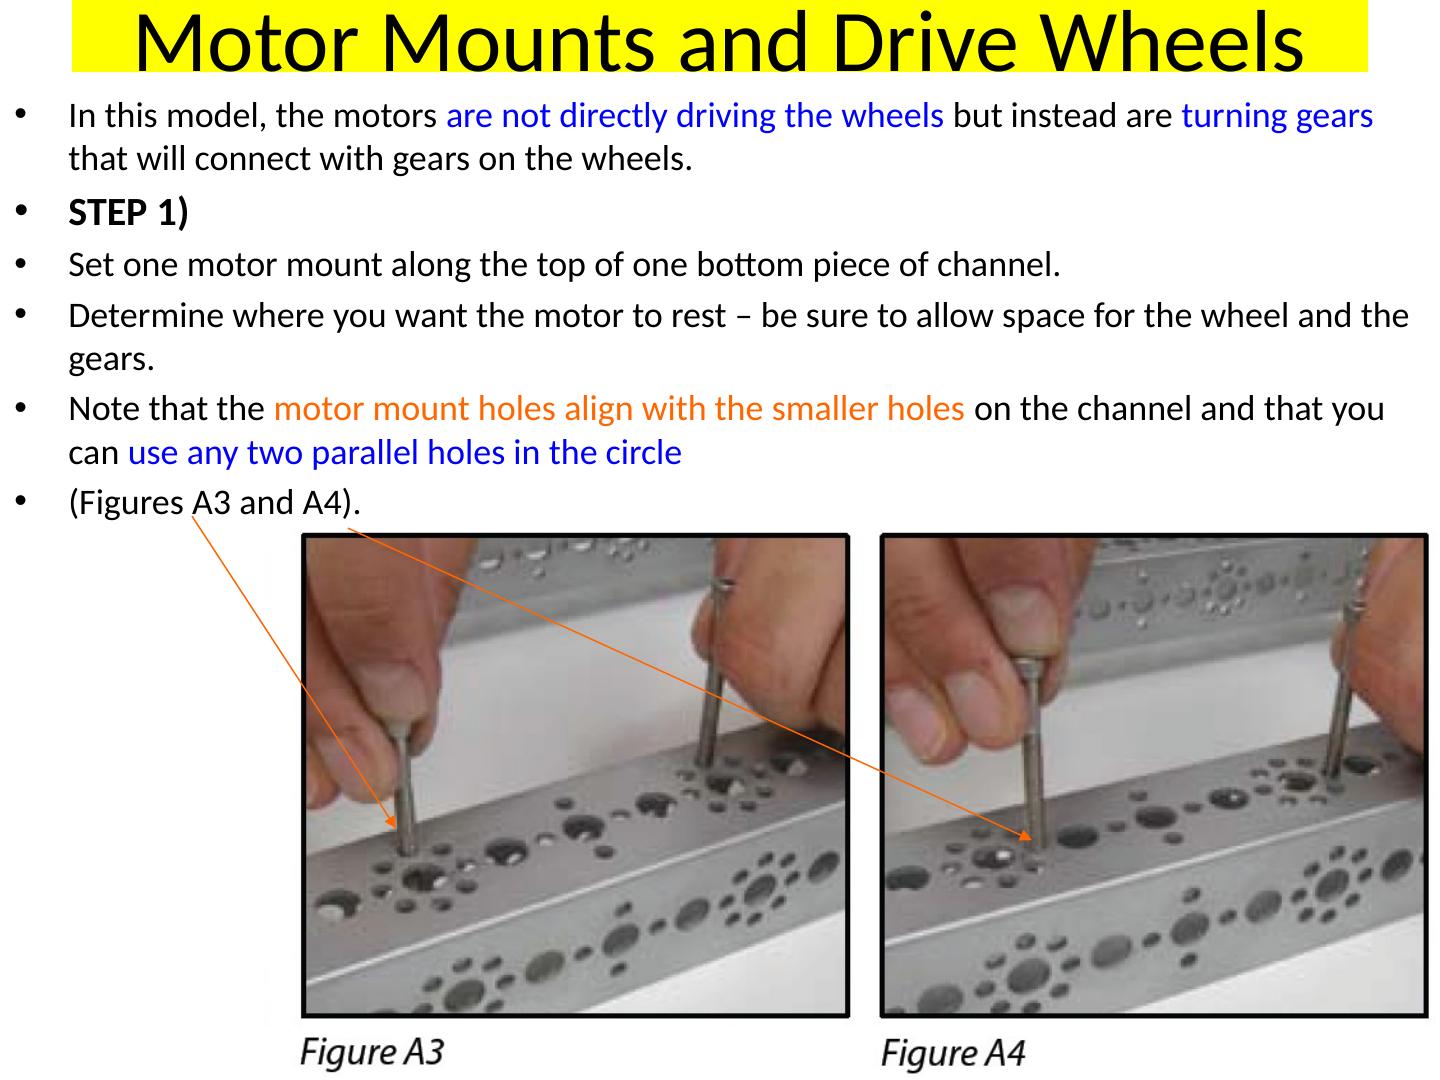
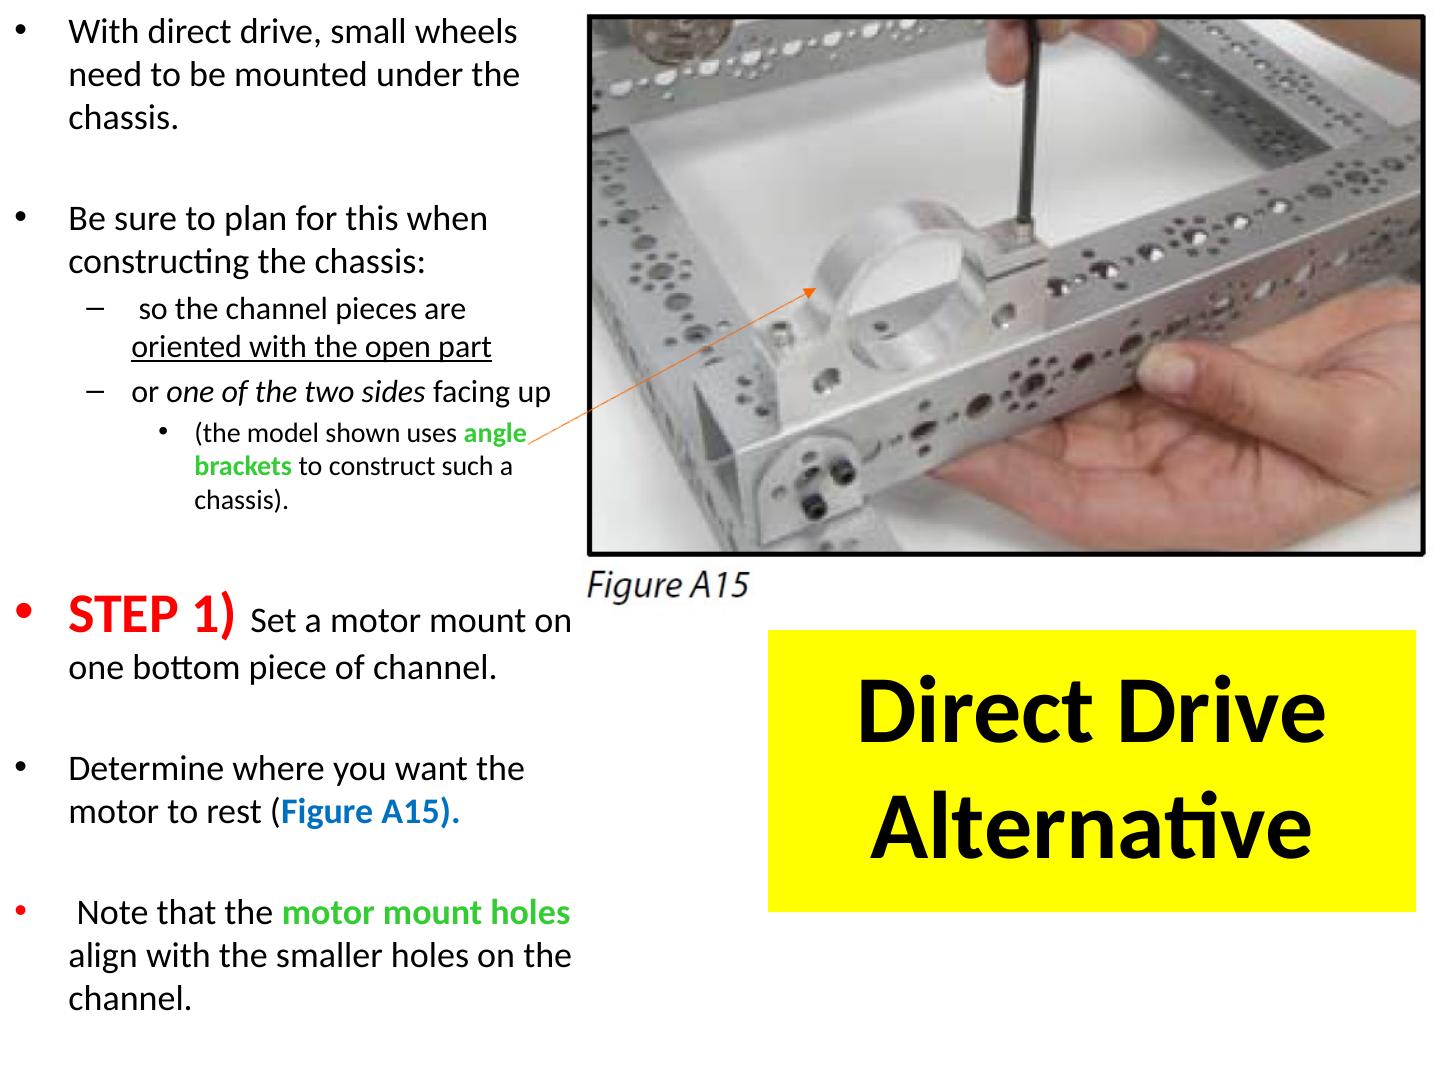
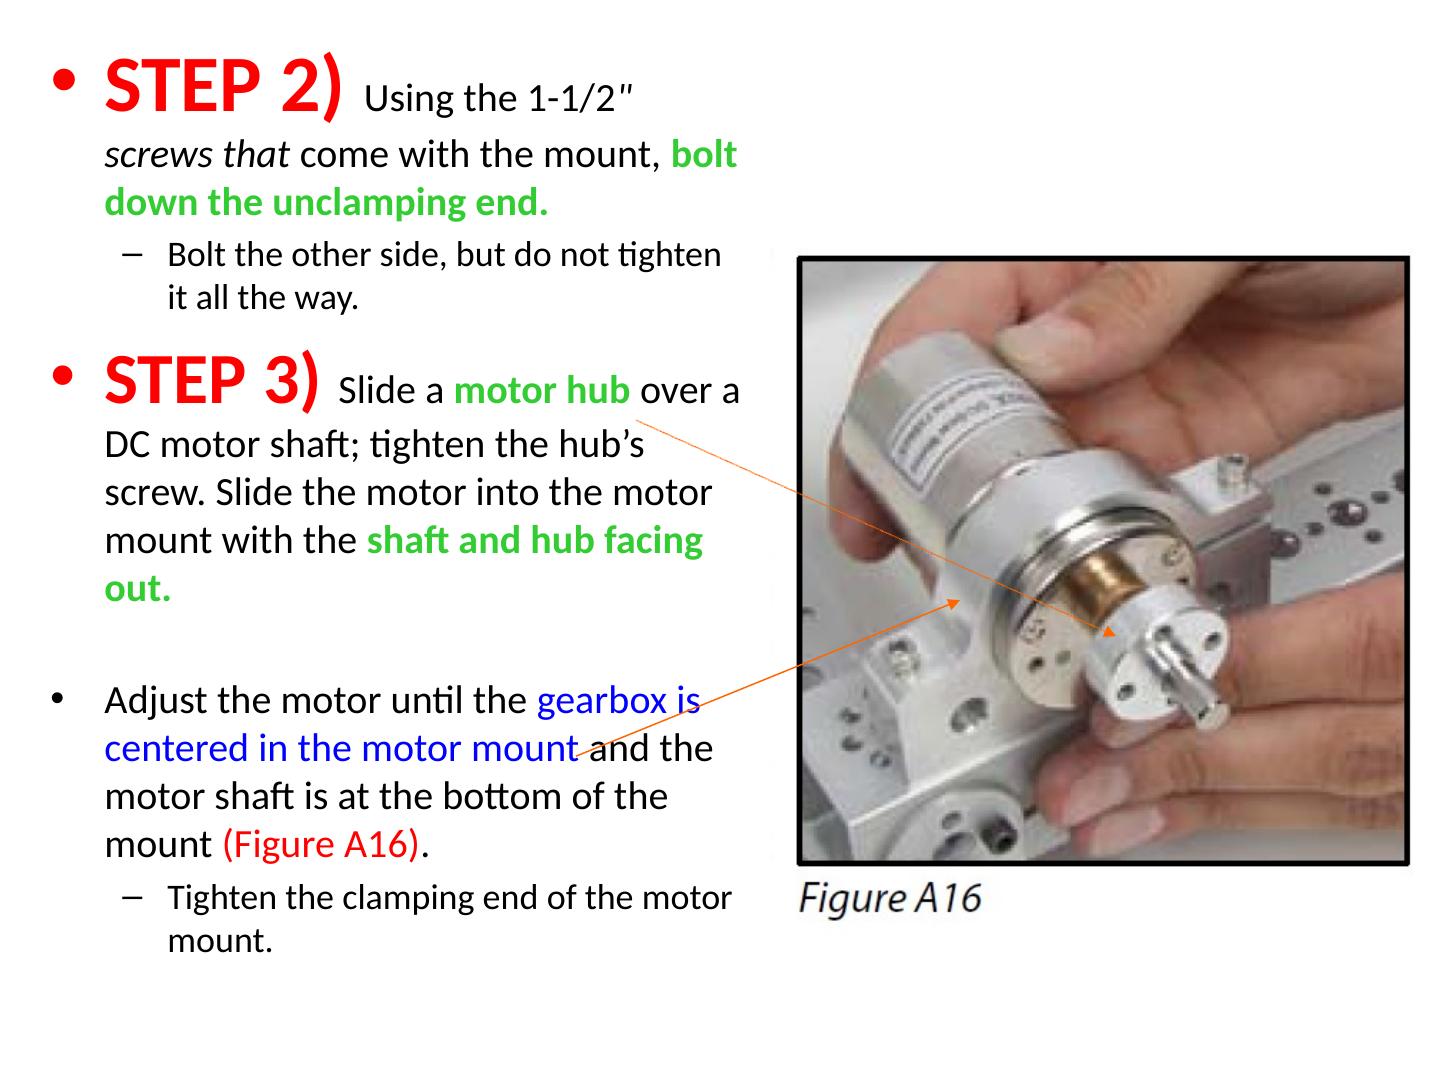
29 .Motor Mounts and Drive Wheels In this model, the motors are not directly driving the wheels but instead are turning gears that will connect with gears on the wheels. STEP 1) Set one motor mount along the top of one bottom piece of channel. Determine where you want the motor to rest – be sure to allow space for the wheel and the gears. Note that the motor mount holes align with the smaller holes on the channel and that you can use any two parallel holes in the circle (Figures A3 and A4).
